Whether you are interested in being more environmentally conscious or finding a new outlet for your creative flow, upcycling offers you a myriad of projects right at your fingertips. Upcycling means you get to finally use those old dishes your grandma gave you or do something with the battered old suitcase sitting in the attic.
Getting started is as easy as grabbing that partial set of dishes that are collecting dust in boxes, closets & storage areas. You can upcycle these old ceramic items into tabletops, coat racks, bird feeders, & more. Keep reading to learn more about how to upcycle old household ceramics.
This article was originally published on https://www.aaloftsdesign.com. If this article appears on any other site other than https://www.aaloftsdesign.com without clear referencing it is a violation of the copyright owned by https://www.aaloftsdesign.com.
This article may contain affiliate links. That means if you click & buy a product, I may receive a small commission at no extra cost to you. AALofts Design is a participant in the Awin Affiliates program, an affiliate advertising program designed to provide a mean for sites to earn advertising fees by advertising & linking to participating merchants. For more information, please view my Privacy Policy & Terms & Conditions Pages.
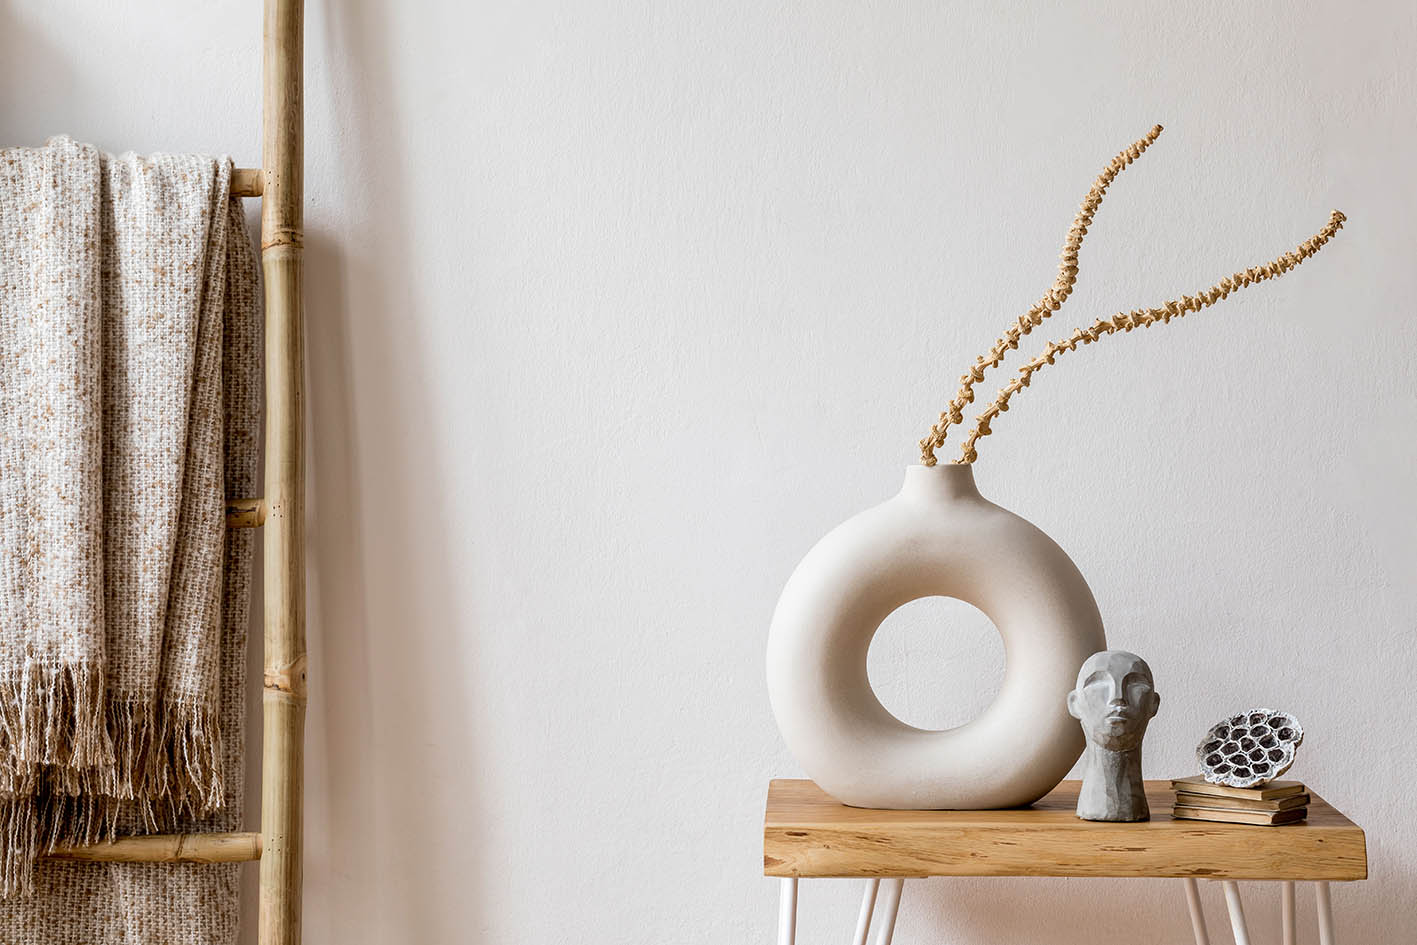
Upcycling Ceramic Dishes.
So many incredible projects exist for teacups & saucers. They run the gamut from upcycling by repurposing to deconstructing the teacup & saucer to create something entirely new. The key to upcycling is to jump outside the narrow confines of how the item is defined in its original form.
Instead of a teacup & saucer, try to view them as the medium through which you will create something new. From key holders, jewellery catch-alls, & shelves to bird feeders, the variety of projects are endless once you view your ceramic piece as raw material rather than defining it as a teacup or vase.
Teacup Planters
Choose a few teacup & saucers for your planters. It is important to decide which type of plant you will put in each cup. Certain plant species will require more modifications to the actual cup than others. For instance, planters for succulents without modifying the cup at all.
- Place some gravel or broken bits of brick in the bottom for drainage
- Add some potting soil & then plant your succulent
Creating a planter for herbs or flowers requires additional steps:
- Create a drainage hole in the bottom of the cup (you can use a tile saw)
- Wet the cup prior to drilling & go slowly. Stop frequently to wet the cup again to keep the drill from heating up as it works
- Then, follow the same steps listed earlier
Make sure you use a saucer from the set or mix & match to catch any excess water from the drainage hole.
Teacup Wall Clock
Another teacup project that involves a bit more craft time investment is a teacup wall clock. You can make an eclectic, boho clock with mismatched cups & saucers or a minimalist clock with white cups & black saucers.
Start with a board backing for your clock face. You can paint this to match or use the natural wood as a backing. Find the centre & mark it for the clock hands, then mark where you want your teacups to go – on the quarter-hour, for example.
After marking the spots, place your cups & saucers to make sure they are situated correctly & are aesthetically pleasing. Before glueing your cups & saucers, affix a hanger to the back of the clock. Then, use epoxy glue for porcelain & glass to fix the teacups & saucers in place. You will need a clock kit for the centre. You can find plenty of choices on Amazon starting at around $5. Once your epoxy glue has set, hang & enjoy.
Mosaic Projects.
You can take any ceramic item you want to upcycle, reconstitute its shape (break it into pieces) & use the detritus to add an element of spark & colour to any surface in your home, on your deck or in your garden. Creating your own mosaic piece can be a rewarding experience. Be aware, however, that this is a more involved project than some we have discussed.
Take inventory of which ceramic items you want in your mosaic piece. Think about colour flow & how it will complement the room where you will stage the piece. You have control here to make your vision come to life. You can add a pop of colour in a room or create a hippie chic centrepiece.
Mosaic Photo Frame
Even a smaller mosaic project like a picture frame requires several materials & some upfront prep time. You will need safety glasses & gloves to protect your hands as you will be breaking up the ceramics. Also, the project requires glue for porcelain or glass & grout in a colour that works with your design colours.
- Before starting, prepare your work area by covering it with craft paper or an old table cloth
- Next, choose a wooden picture frame. It can be a rummage sale find, one you are upcycling from your home or a new one purchased for the project
- Decide if you want the background painted or left natural
- Use painter’s tape to cover any portion that you do not want to get messy with glue or grout
- Have several paper bags or plastic storage bags handy to break up your selected ceramics
You have a couple of options for creating your mosaic pieces. You can break them apart by placing a piece into one of the bags then wrap an old towel or piece of fabric. Very lightly, tap the towel, breaking off a piece of the dish. Check frequently to remove pieces that are the size you prefer for your design. Alternatively, you can use tile nippers to cut pieces off each dish. To contain the pieces & debris, cut them inside one of the bags.
After you have enough pieces, place them on the frame using your work gloves, leaving a space between each tile for the grout. Use epoxy glue to fix your pieces to your frame. Once all pieces are glued & set, follow the directions on the grout to fill in the spaces between tiles.
Old Ceramics to New Pottery Projects.
If you love the designer painted pots available for sale, you do not have to pay those retail markups. You can create your own by upcycling old pots, bowls & containers you have in the house.
These are often quick & easy projects that can rejuvenate the look of your indoor planters or your outside container gardens. Similar techniques can be used to create new vases from ones hanging around in your cupboards.
Upcycling Pots & Vases
To start your upcycling of a pot or vase, make sure it is clean & totally dry. Then, you can either use a primer or start painting directly by using a paint & primer combo. If time is of the essence, a paint & primer combination spray is the way to go. These also tend to come in several different finishes & textures to add to your new piece’s look. Once you have your paint colour & finish, you are ready to upcycle.
If you are working on the project inside, make sure to lay down drop cloths to protect your well-ventilated workspace. In most cases, it is best to do these projects outside on a day with little to no wind. Stand back as directed if you are using spray paint.
- Work in short even sprays across the piece. Do not get too close, as you will have uneven coverage
- Allow your piece to dry as recommended, add time if the humidity is high
- Look over your piece, checking the coverage or whether a second coat is needed
To apply a second coat, repeat the steps listed above
If you want to add some graphic details, you try using different colours of nail polish, painted on with a paintbrush. The size of the brush will be determined by whether you want fine or bold graphic elements.
After the second coat has dried completely, & your detailed work, you may want to protect the paint job by applying a sealant. Sealants can also be added to give extra shine to your piece or to apply a matte finish, depending on the look you want. Spray on lightly & allow to dry thoroughly before moving your piece.
Sources:
http://www.theekissoflife.com/2013/08/15-ways-to-upcycle-vintage-tea-cups.html
https://www.homedit.com/diy-vintage-teacup-flower-pots/
https://www.suburbanaf.com/2017/05/08/cute-as-a-button-diy-teacup-clock/
https://homeguides.sfgate.com/make-mosaic-tabletop-broken-dishes-92748.html
https://runningwithsisters.com/how-to-make-a-mosaic-picture-frame/
https://www.peonylanedesigns.com/how-to-spray-paint-ceramic/
http://makeandtell.com/make-your-decor-tea-cup-planter/
https://sassytownhouseliving.com/upcycle-plastic-flower-pots-high-end-decor/
https://thecrazycraftlady.com/upcycle-old-teacups/
https://www.amazon.com/Egofine-Picture-Pictures-Display-Mounting/dp/B07W4P4TXK
https://www.amazon.com/Rust-Oleum-249122-6-PK-Painters-Touch/dp/B017X6HURO
Wrapping it All Up.
If you’re interested in further reading, please see the links to my trusted resources page & related articles below. To find out more about AALofts Design, please click here. If you found this content helpful, want to collaborate on a project, or would like to request an article topic, please click here to get in touch via the contact form. Feel free to share & connect on social media, if you found this content helpful.
